Flow meters play a crucial role in industries by measuring the flow rate of liquids and gases. However, to harness the full potential of these devices, connecting a flow meter to a computer is essential for real-time data analysis, monitoring, and reporting. In this guide, we will walk you through how to connect a flow meter to a computer, step by step, covering everything from the required tools to troubleshooting.
By the end of this article, readers will understand how to establish a seamless connection between their flow meter and a computer, enabling effective data monitoring.
Introduction: Why Connect a Flow Meter to a Computer?
Connecting a flow meter to a computer opens up many possibilities. It allows users to:
- Monitor real-time data: View live flow rate readings directly from the computer screen.
- Record and store data: Save and analyze flow meter readings for future use.
- Set alerts: Be notified when the flow rate exceeds predefined limits.
- Remote monitoring: Access flow meter data from other locations over a network.
Whether working in industrial processes, research, or environmental monitoring, knowing how to connect a flow meter to a computer will significantly enhance your ability to manage and analyze data efficiently.
Step-by-Step Guide: How to Connect a Flow Meter to a Computer
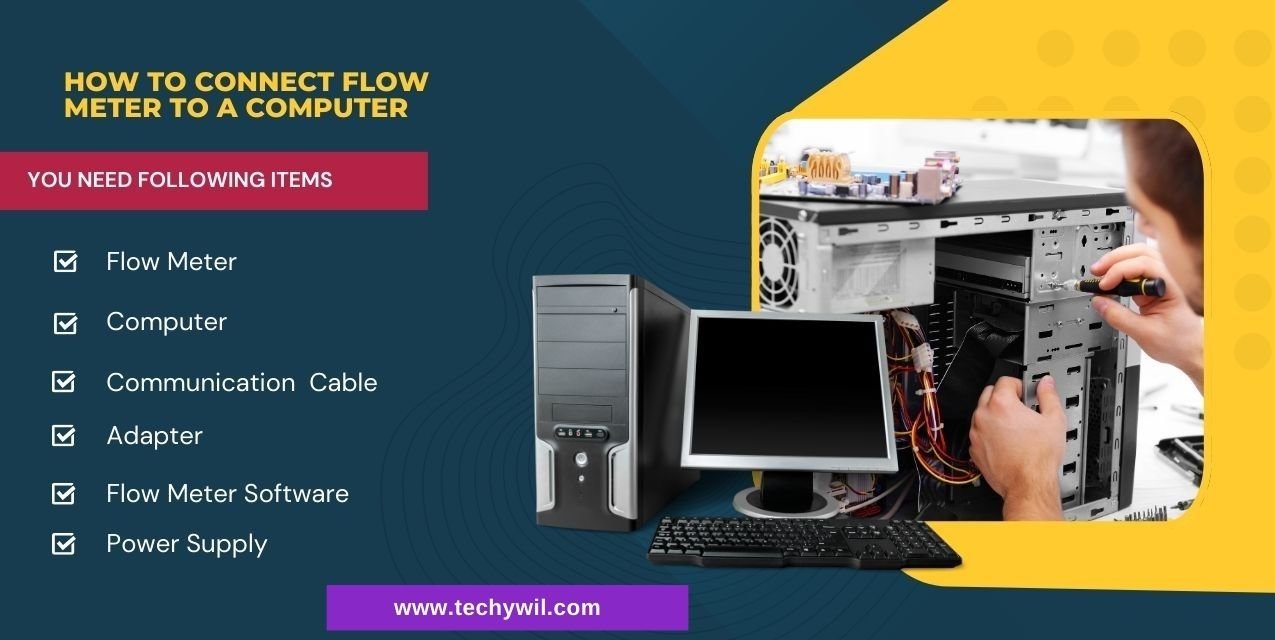
Step 1: Gather Necessary Equipment
To begin the process of connecting a flow meter to a computer, you’ll need the following tools:
- Flow Meter: A digital flow meter with communication ports (e.g., USB, RS232, RS485, or Ethernet).
- Computer: A desktop or laptop with the necessary port connections.
- Communication Cable: Depending on the type of connection (USB, RS232, or Ethernet), you’ll need a suitable cable.
- Adapter: If your computer lacks the necessary port, you may need a USB-to-RS232 or USB-to-RS485 adapter.
- Flow Meter Software: Proprietary software from the manufacturer or compatible data acquisition (DAQ) software.
- Power Supply: Ensure your flow meter is properly powered through batteries or direct power.
Step 2: Identify the Communication Port on the Flow Meter
The next step in learning how to connect a flow meter to a computer is identifying the available communication ports on your flow meter. Common ports include:
- USB: The most straightforward method.
- RS232/RS485: Standard in industrial settings for long-distance communication.
- Ethernet: Ideal for networked or remote monitoring.
Refer to the flow meter’s manual to determine the correct port and cable type for connection.
Step 3: Install Flow Meter Software
Before physically connecting the flow meter, install any software the manufacturer provides. This software is designed to interpret the data from the flow meter and display it on the computer. If no software is provided, consider using data acquisition (DAQ) software compatible with your flow meter’s communication protocols, such as Modbus or HART.
Step 4: Connect the Flow Meter to the Computer
Depending on your chosen connection method, follow the relevant instructions:
- USB Connection:
- Connect the USB cable from the flow meter to the computer’s USB port.
- The computer should automatically recognize the flow meter and install the necessary drivers.
- RS232/RS485 Connection:
- Connect the RS232 or RS485 cable from the flow meter to the computer’s corresponding port. If necessary, use a USB adapter.
- Ensure that the cable is securely connected.
- Ethernet Connection:
- Connect the flow meter to the computer or a network switch via an Ethernet cable.
- Configure the flow meter’s IP address if needed.
Step 5: Configure Software for Communication
Once the physical connection is established, launch the installed software and configure it for communication with the flow meter:
- Select the correct communication port: Choose the appropriate port (USB, COM1, Ethernet) based on your setup.
- Configure baud rate and protocol: For RS232 or RS485, set the correct baud rate and protocol (Modbus, HART) as indicated in the flow meter manual.
- Test the connection: Run a test to ensure the flow meter successfully communicates with the computer.
Step 6: Visualize and Record Flow Data
Once connected, the software will display real-time flow data on your computer. From here, you can:
- Monitor flow rate: Watch live flow rate readings on the computer screen.
- Record data: Save flow data for later analysis.
- Set alerts: Configure notifications for abnormal flow rates or other conditions.
Troubleshooting Tips: How to Resolve Common Issues
When connecting a flow meter to a computer, users may encounter some common challenges. Here are troubleshooting tips to resolve these problems:
- No Communication Detected:
- Verify that all cables are securely connected.
- Confirm the correct communication port is selected in the software.
- Ensure that the flow meter is powered on.
- Incorrect Data or No Data Displayed:
- Double-check the baud rate and protocol settings.
- Ensure the flow meter’s software is properly configured for communication.
- Adapter Issues:
- If using an RS232 or RS485-to-USB adapter, confirm the adapter driver is installed and functioning correctly.
- Software Problems:
- Make sure the latest version of the flow meter software is installed.
- Restart the software or computer to refresh the connection.
Conclusion: Simplifying How to Connect a Flow Meter to a Computer
Understanding how to connect a flow meter to a computer enables better data analysis, real-time monitoring, and process optimization. Whether for industrial or research purposes, integrating a flow meter with a computer allows users to collect and manage critical data more efficiently.
By following the steps outlined in this guide, you can establish a reliable connection between your flow meter and computer, ensuring seamless data communication. Whether you’re using USB, RS232, or Ethernet, knowing how to configure your flow meter and software is key to unlocking the full potential of your flow data.
With the connection established, you’ll be able to visualize, record, and analyze flow data like never before. This setup will enable you to optimize operations, set flow alerts, and ensure that you’re always in control of your processes.